Spine and pockets
Use a clear main corridor with short side pockets. It is easy to watch and good for comparing one monster position at a time.
Best first baseline
 Build Your Backrooms
Maze layouts
Three practical route patterns help you find traffic problems before the build becomes expensive.
Game facts checked August 4, 2026
Quick answer
Three patterns
Use a clear main corridor with short side pockets. It is easy to watch and good for comparing one monster position at a time.
Best first baseline
Create a return path plus one alternate route. Use it when you want to see whether visitors split or stay together.
Best for route choice
Connect a small sequence of distinct zones. Each zone should answer a different question: travel, turn, monster exposure, or recovery.
Best for larger builds
Route test
| Point | Question to ask | If it fails |
|---|---|---|
| Entrance | Can a visitor see or reach the first route immediately? | Simplify the first connection |
| First turn | Does the next opening remain readable? | Reduce clutter or adjust the angle |
| Branch | Can you tell which path was chosen? | Make the paths visually distinct |
| Monster approach | Does traffic actually enter the catch zone? | Move the zone onto the tested route |
| End or return | Does the path finish, loop, or strand the visitor? | Repair the final connection before expanding |
Planning card
Progression visual
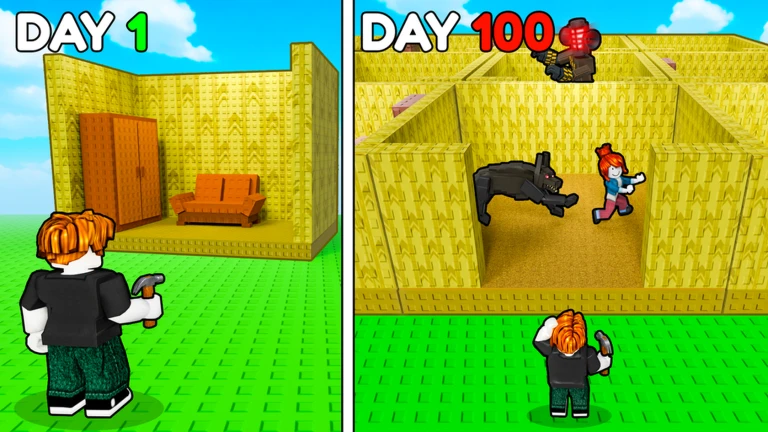
The official Day 1 / Day 100 image communicates the fantasy of growing a tiny room into a large maze. It does not prove a 100-day system, fixed unlock pace, or exact progression path. Use it as a design direction only.
Quick answers
For a new build, a clear spine with one branch and one observable monster zone is the easiest layout to improve.
Add one, test it, and keep it only if you can understand the visitor choice. More branches make poor evidence harder to diagnose.
No public source establishes that. It appears in official promotional art as a before-and-after building fantasy.
Next chapter